


PART 3-How to Troubleshoot Common Electrical Problems Before Calling a Professional
August 24, 2023Electrical problems can be daunting, but before reaching for the phone to call a professional electrician, there are several troubleshooting steps you can take. By understanding the basics of electrical systems and implementing some simple checks, you may save time and money, and even fix the issue yourself. In this blog, we’ll guide you through five essential steps to troubleshoot common electrical problems safely and effectively.
Check the Circuit Breaker
A frequently tripping circuit breaker can be a common issue in many households. Circuit breakers act as safety switches that protect your home’s electrical system from overloads and short circuits. When a circuit becomes overloaded, the breaker trips to prevent electrical fires or damage.
To troubleshoot this problem:
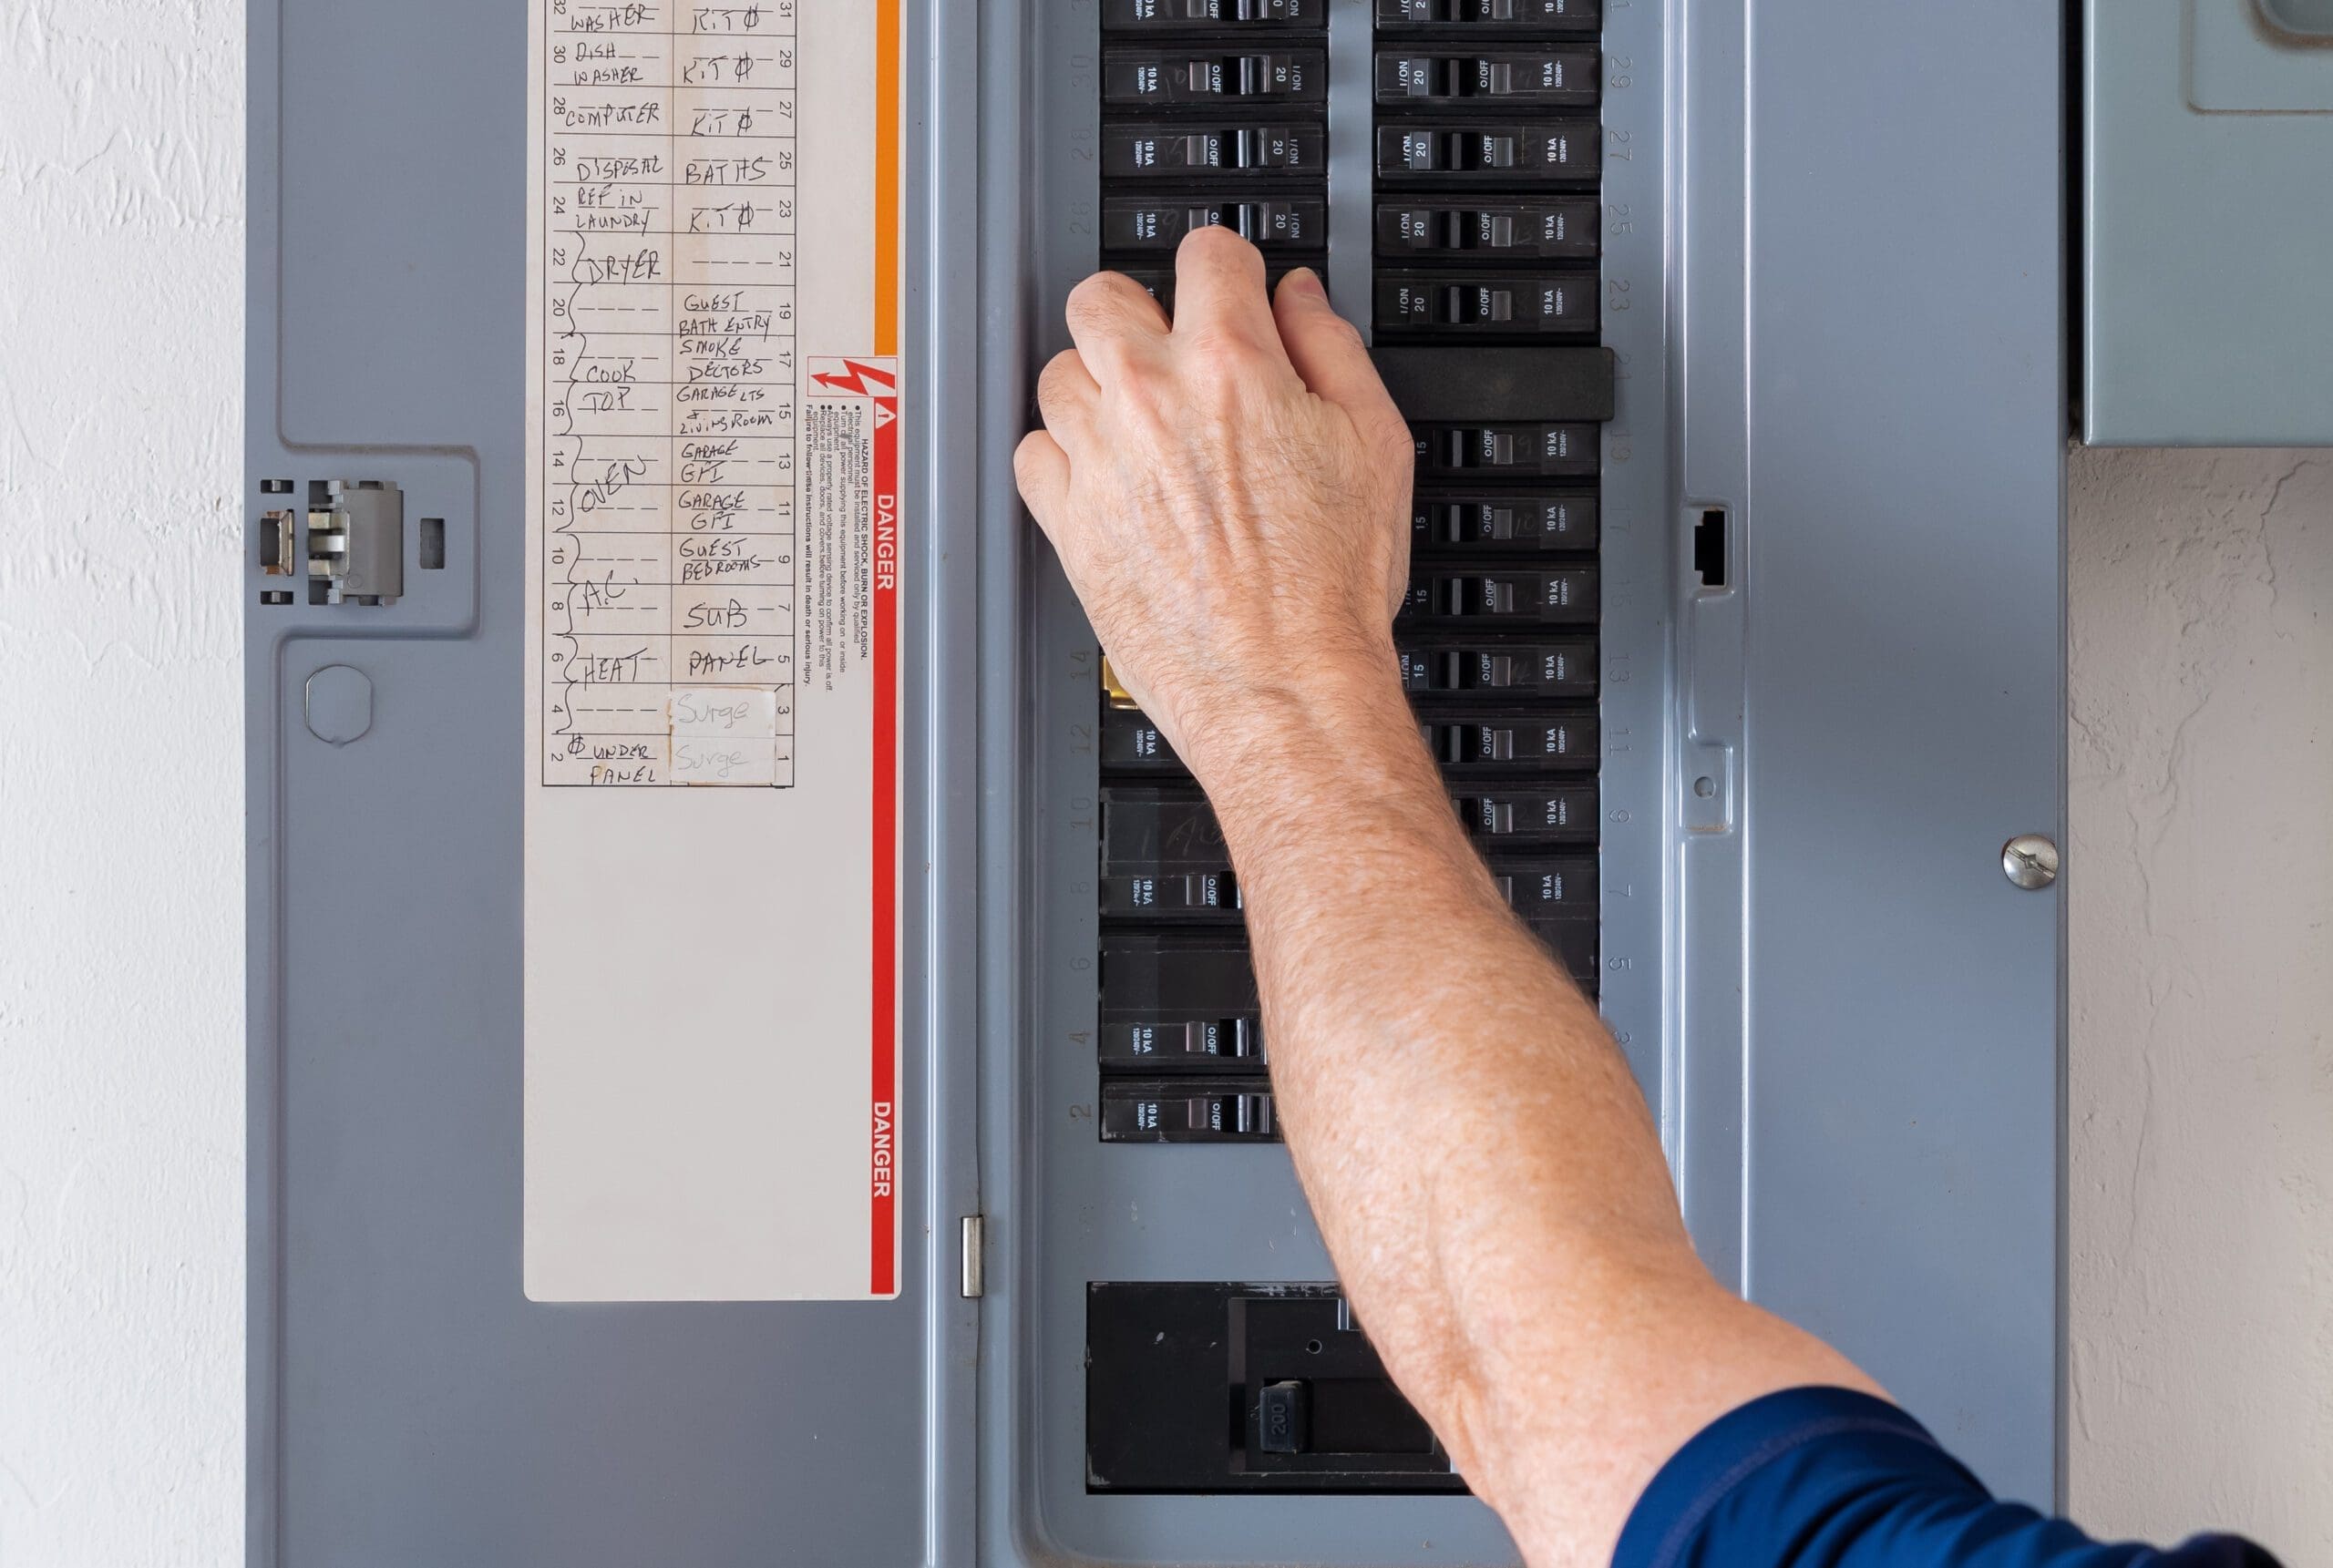
- Locate the breaker panel: The circuit breaker panel is usually situated in the basement, utility room, or garage. Open the panel’s door to reveal a series of switches (breakers).
- Identify the tripped breaker: A tripped breaker will be in the middle or “off” position, while the others are in the “on” position.
- Reset the breaker: To reset the breaker, push it firmly to the “off” position and then back to the “on” position. If it trips again immediately, there may be an underlying issue that requires professional attention. Try unplugging all appliances on that circuit to rule out faulty wiring in the appliances and try one more time. If it trips again, call Kelleher.
Inspect Outlets and Switches
Faulty outlets and switches are another common electrical problem. Over time, these components can wear out or become loose, leading to poor connections and potential hazards.
To inspect outlets and switches:
- Turn off the power: Before handling any electrical components, turn off the power to the affected area by switching off the circuit breaker.
- Remove the cover plate: Use a screwdriver to remove the cover plate of the outlet or switch you want to inspect.
- Check for loose connections: Ensure that all wires are securely connected to the terminals. If you notice any loose wires, tighten them carefully.
- Look for signs of damage: Check for any discoloration, burning smells, or visible damage to the outlet or switch. If you find any, stop troubleshooting and call a professional electrician.
Test the Outlet or Switch
Once you’ve inspected the outlets and switches, it’s essential to verify if they are functioning correctly. A non-functional outlet or switch might not necessarily be broken, and the issue could be related to the connected device.
To test the outlet or switch:
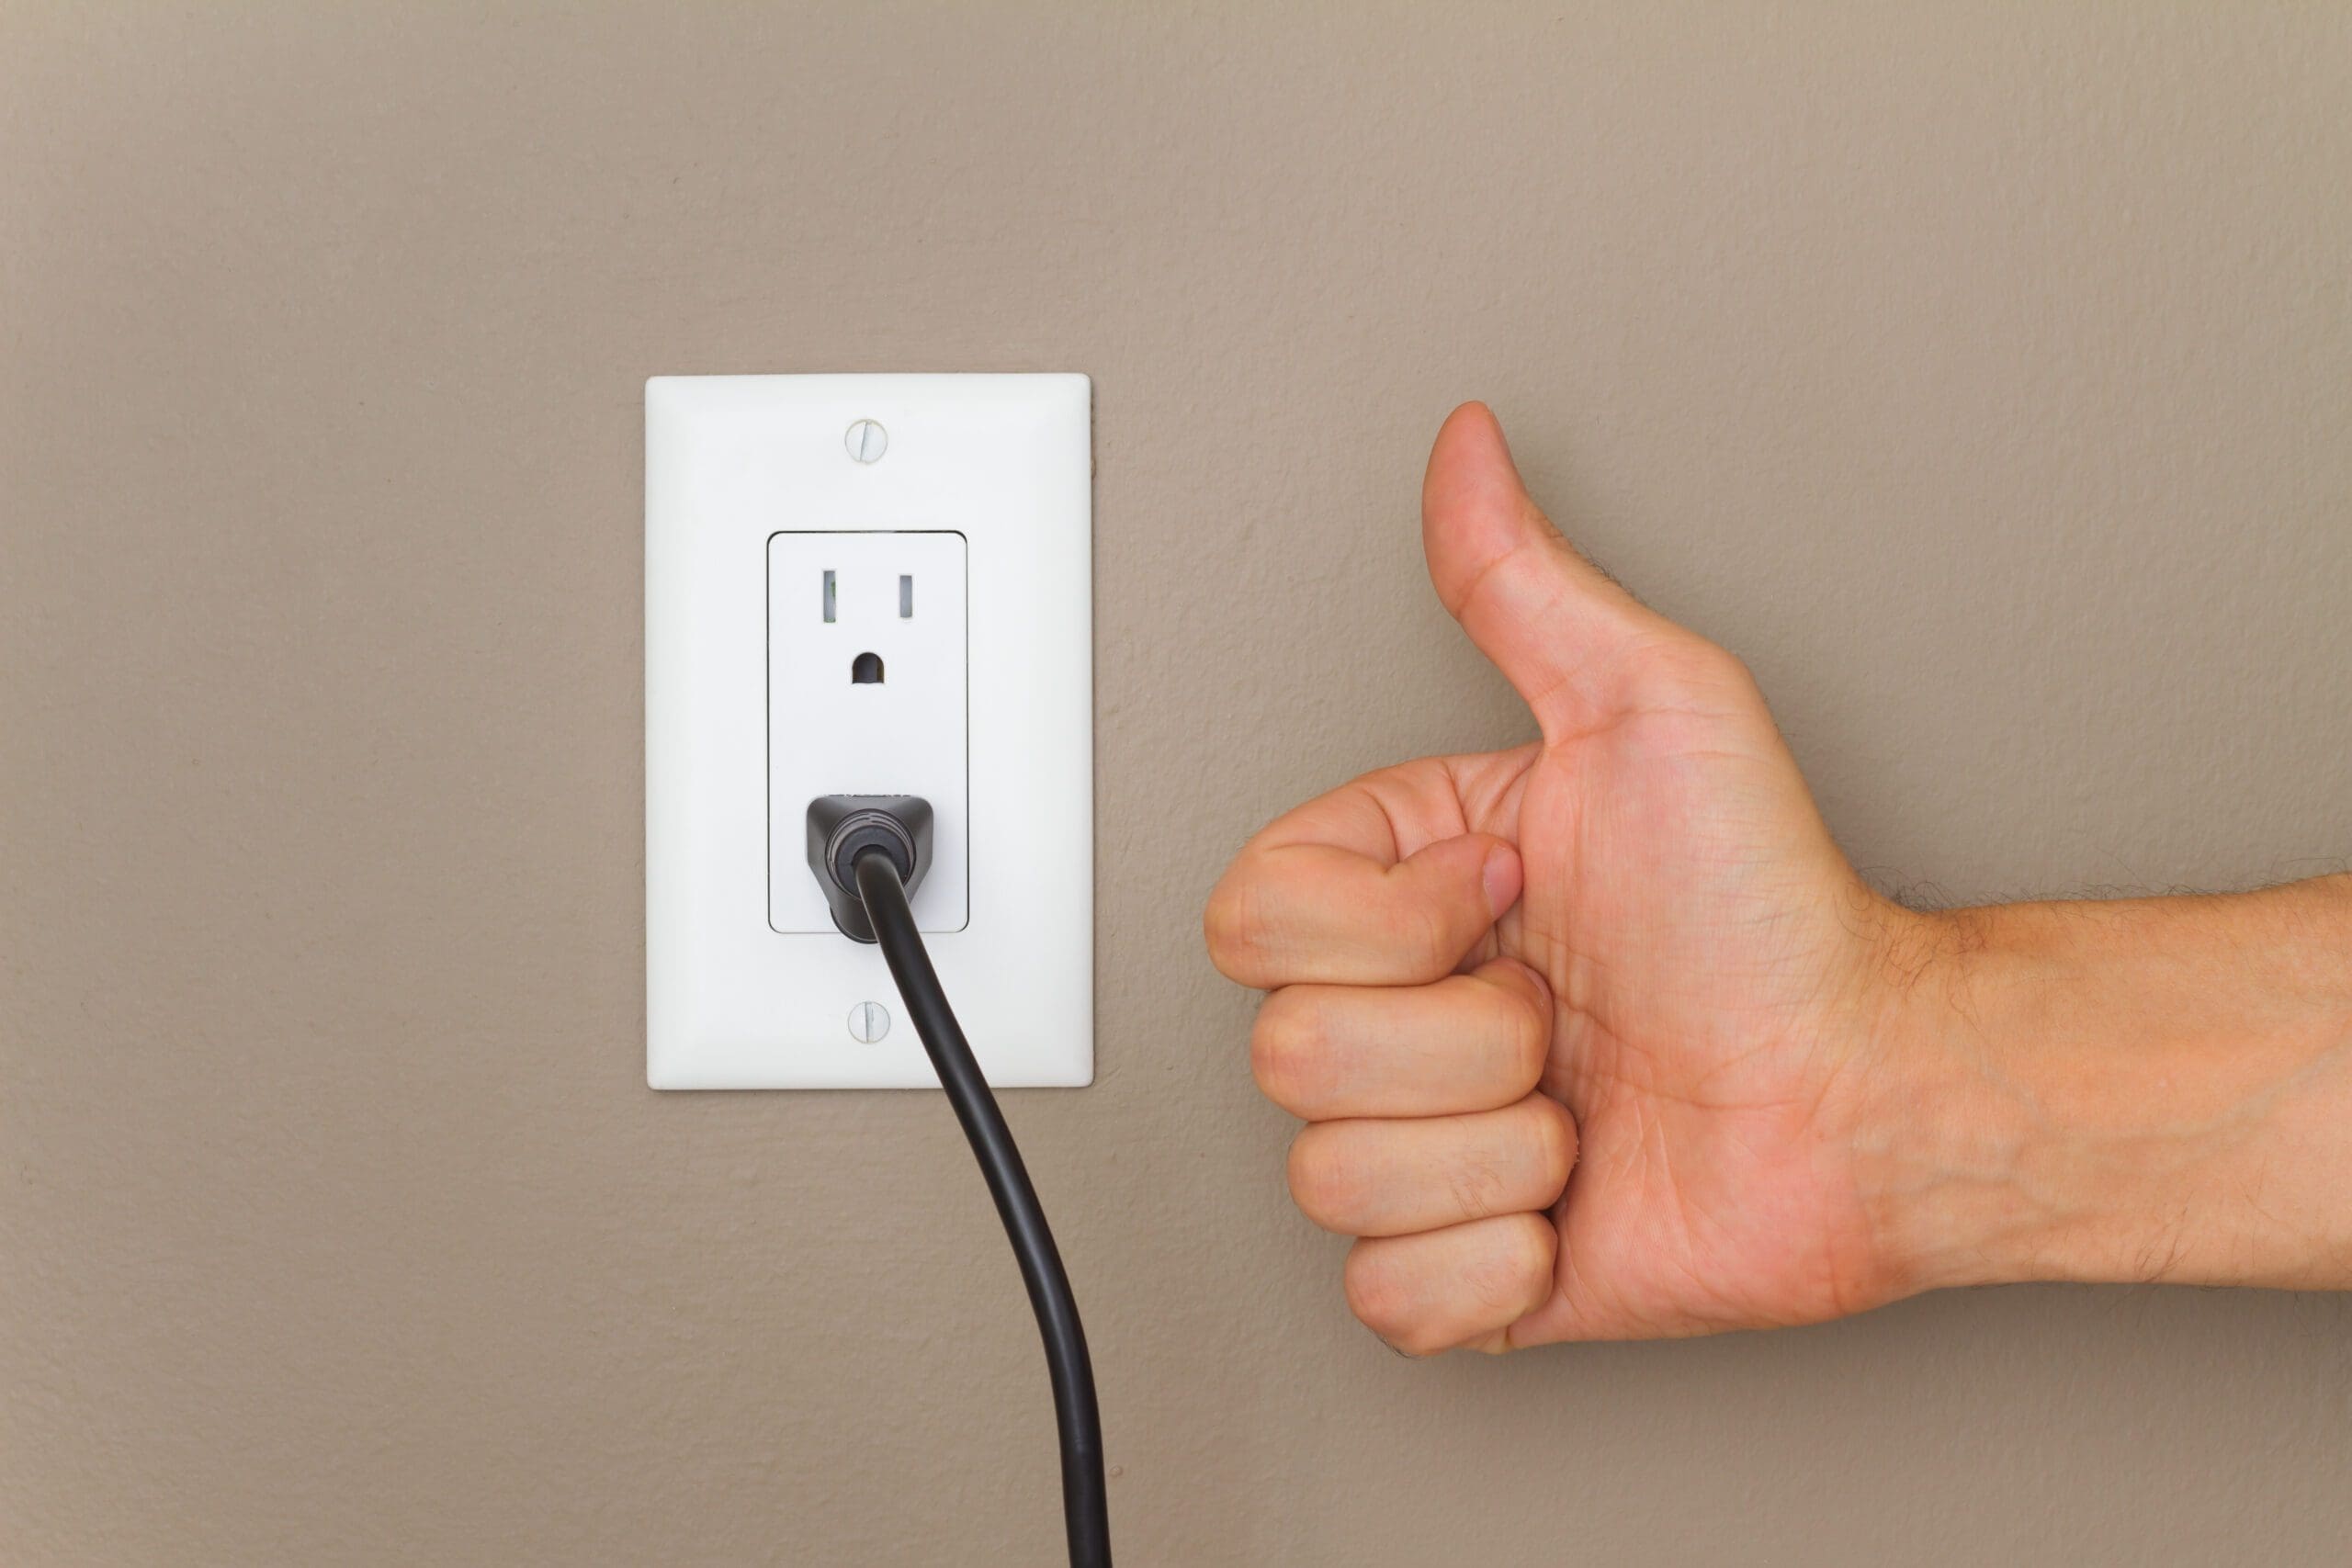
- Plug in a known working device: Use a lamp, phone charger, or any other functioning electrical device to test the outlet or switch.
- Turn on the device: If the device doesn’t turn on, try it in another outlet to ensure the device itself is not faulty.
- Check for GFCI outlets: Some outlets, especially those near water sources like the kitchen and bathroom, have built-in Ground Fault Circuit Interrupters (GFCIs). If an outlet has a “Test” and “Reset” button, press “Test” and then “Reset” to see if it restores functionality.

Check for Overloading
Overloading electrical circuits is a common mistake that can lead to circuit breaker trips or even electrical fires. An overloaded circuit occurs when you connect too many electrical devices to a single outlet or circuit, exceeding its capacity.
To prevent overloading:
- Understand circuit ratings: Each circuit has a maximum load capacity, typically measured in amps. You can find this information on the circuit breaker or in your home’s electrical panel.
- Distribute the load: Avoid plugging high-power appliances like microwaves, hair dryers, toasters, space heaters and refrigerators into the same circuit as other heavy-consuming devices.
- Unplug unnecessary devices: Regularly check and unplug any devices not in use to reduce the strain on the circuit.
Inspect Electrical Appliances
If the issue persists after trying the above steps, the problem might lie with one of your electrical appliances. Defective appliances can cause electrical disturbances and even damage your home’s electrical system.
To inspect electrical appliances:
- Unplug all devices: Safely unplug all electrical devices connected to the affected circuit.
- Test the circuit: Reset the breaker and see if it trips without any devices plugged in. If it doesn’t, the issue may be related to one of the appliances.
- Test appliances individually: Plug in and test each device one by one to identify the problematic one. If a specific device triggers the circuit breaker, it likely needs repair or replacement.

By following these five troubleshooting steps, you can gain confidence in handling common electrical problems on your own. Remember to always prioritize safety, and if you’re uncertain or uncomfortable with any step, it’s best to call a professional electrician. By taking the time to troubleshoot and fix minor electrical issues, you can ensure the safety and functionality of your home’s electrical system. Happy troubleshooting!
Experience top-notch electrical services for your home or business with Kelleher HVAC! Contact us today to schedule a consultation with our skilled electricians. From installations and repairs to troubleshooting, we’ve got you covered. Don’t compromise on safety and efficiency – trust our experts to power up your space.